NOTE: This is different from hero section background images.
To include an image in a page's content section:
- Go to that page's Files.
- Upload the image.
- Go to that page's content section.
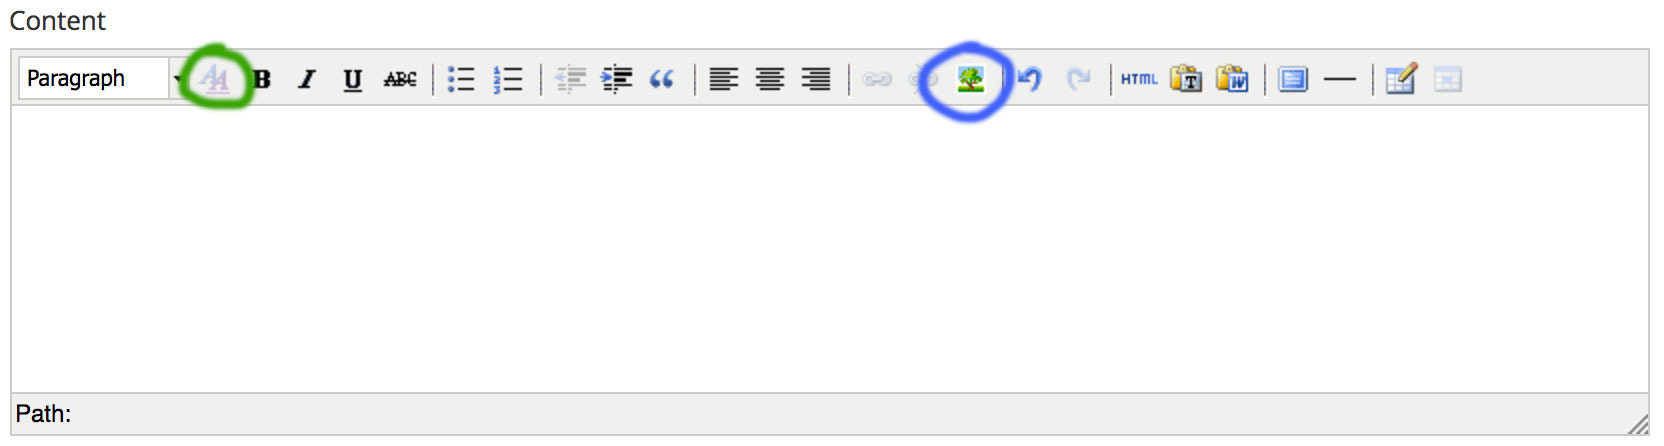
- Click the tree in the content editor's toolbar (circled in blue below).
- In the pop up that appears, select the appropriate image from the Image List.
- Select/input any appropriate options in the pop up. then click Insert.
NOTE: You can skip steps 1 and 2 if you already have the image's URL. You can just paste it in to the Image URL field instead of step 5.
Some, but not all, available options:
- In the tree pop up, assigning an Alignment of Left or Right will wrap any text around the image.
- In the tree pop up, we usually leave Dimensions empty (it will take up a maximum of the full-width of the content section, but no wider) or give it a percentage width (the first Dimensions box) like 35% and leave the height (the second Dimensions box) blank.
- In the tree pop up, we usually leave Vertical Space and Horizontal Space empty. Then, depending on our alignment of the image, we will
- Select the image by clicking it (or clicking then dragging the cursor over it).
- Click the Double A's (circled in green above) in the content editor's toolbar.
- In the pop up that appears, we'll navigate to the Box tab.
- In the bottom right under Margin, we'll uncheck Same for All.
- We'll then assign an appropriate image margin. For example, if we aligned the image to the left, we'd give it a Right margin of 15 pixels and a Bottom margin of 8 pixels, leaving the Left and Top margins blank.